
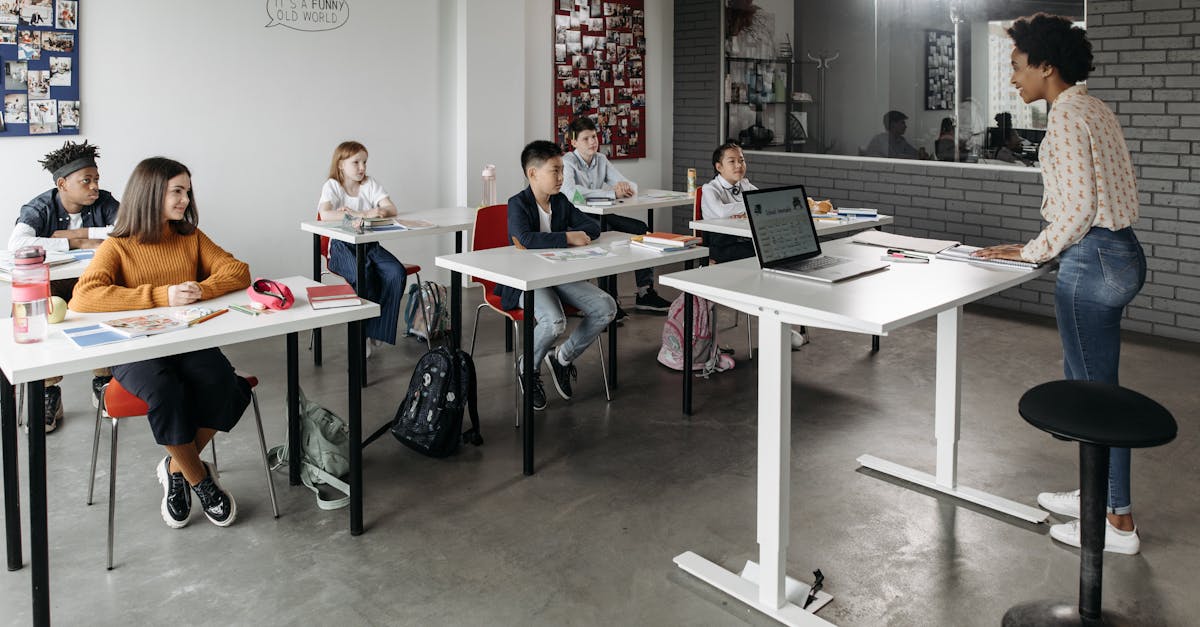
The flipped classroom model reverses traditional instruction. Instead of teaching new content in class and assigning practice for homework, students learn new content at home (usually through videos) and use class time for practice, projects, and collaboration.
In theory, this maximizes face-to-face time for active learning. In practice, it works well for some teachers and fails for others. This guide explains what flipped classrooms actually look like, which subjects and grade levels work best, and how to avoid common mistakes.
Why Teachers Flip Their Classrooms
The appeal comes down to time. Class time goes toward active learning rather than direct instruction. Students can pause and rewind explanations at home, something no live lesson can offer. Differentiation becomes easier because students who need more time can rewatch videos before arriving, on their own schedule, without slowing down the rest of the class. And when it works well, class feels genuinely collaborative instead of one-directional.
Flipping is fundamentally about how you use class time, not just about making videos. Videos are the tool. Active learning is the goal. Teachers are actually more involved during flipped lessons, not less, because they are freed from lecturing to coach, facilitate, and give real-time feedback during the work that matters most.
Where Flipping Works Best
Math at the middle and high school level is where teachers see the clearest results. Students watch a video at home explaining the concept, then class time is spent on practice problems with the teacher present. Most students hit confusion during practice, not during the initial explanation, so having support available at exactly that moment changes the experience considerably.
Science is a natural fit for lab-based content. Videos cover background knowledge and safety protocols before students arrive, so class time can go entirely to hands-on work. A biology teacher might assign a short photosynthesis video for homework, then use the full class period for a lab measuring how light intensity affects plant growth rate.
World Languages benefit as well. Videos introduce vocabulary, grammar structures, or pronunciation patterns at home. Class shifts almost entirely to speaking and listening, which is where language acquisition actually happens. A Spanish teacher posts a video on the preterite tense, then spends class on structured conversations where students practice past tense in real exchanges with peers.
Flipping is less ideal for elementary grades (K-5). Young students often struggle with independent video watching, and home internet access is a more significant concern at that age. A practical fix: flip within the classroom instead. Students watch a short video at the start of class, then move directly into practice with the teacher in the room.
How to Flip a Classroom: Step by Step
Step 1: Choose what to flip. Do not flip everything at once. Good candidates are lessons you already lecture on, skills requiring lots of practice, or concepts students benefit from reviewing at their own pace. Poor candidates include lessons that depend on discussion to build understanding, hands-on activities that are already working well, or topics students find naturally engaging without a lecture setup.
Step 2: Create or find video content. Record your own using Loom or Screencast-O-Matic, or use existing videos from Khan Academy, Crash Course, or TED-Ed. Keep videos between 5 and 10 minutes. Before assigning anything, watch the entire video yourself. Small errors and off-topic tangents are easy to miss and frustrating to address once students have already seen them.
Step 3: Design the in-class activity. This is the most important step. Strong activities include practice problems with teacher support, labs, discussions, and collaborative projects. Weak activities are independent worksheets (that is just moving homework to class) or tasks disconnected from what students watched. The in-class time is the whole point of the model; design it accordingly.
Step 4: Hold students accountable. Use a short entrance ticket of two or three questions based on the video, a notes check, or a discussion prompt that assumes prior viewing. If students did not watch, have them use headphones at the start of class while others move ahead. Do not re-teach the video to the full group; that defeats the purpose and signals that skipping the homework has no real consequence.
Step 5: Adjust based on feedback. After the lesson, ask yourself and your students what worked. Did students actually watch? Was the in-class activity aligned and genuinely engaging? Those two questions tell you most of what you need to improve the next attempt.
Common Mistakes to Avoid
Videos that run too long lose students fast. Keep them under 10 minutes, and aim for five to seven minutes at the elementary and middle school level. Delivery matters just as much as length. A flat narration over a static slide deck will not hold attention. Include worked examples, vary your pace, and keep the tone conversational rather than scripted.
Equity is a real concern, not a hypothetical one. Not every student has reliable internet at home. Build in options from the start: allow students to watch during lunch or before school, provide downloaded versions on a shared drive, or use the in-class flip model by default. Do not wait for a student to fall behind before addressing it.
The most common mistake is weak in-class activities. If students are filling out worksheets in silence, you have moved homework to class without gaining anything. Use that face-to-face time for work that genuinely benefits from your presence: guided problem-solving, peer collaboration, lab work, and real-time feedback on student thinking.
Variations Worth Trying
A partial flip works well if you are not ready to flip every lesson. Use the flip for skill-based content and keep traditional instruction for discussion-heavy or concept-building lessons. This lets you test the model without overhauling your entire practice at once.
The in-class flip keeps everything during school hours. Students watch a short video at the start of class (five to ten minutes), then move immediately into the activity. It eliminates the homework component entirely and addresses most equity concerns without requiring any changes to your grading structure.
Flipped mastery takes the model further. Students move through videos and practice at their own pace, advancing only after demonstrating they have learned the material. It requires more upfront planning and a well-organized set of resources, but it creates individualized learning pathways in a way that standard pacing rarely allows.
Flipped classrooms work when they create more space for the teaching that matters most. They fail when they are just homework in reverse. In theory, the model is simple. In practice, the difference comes down to what happens during class time. Start small, flip one unit or one lesson, observe what works, and adjust from there. That process of testing, noticing, and refining is the same thing you ask your students to do every day.
Related Reading
- The Flipped Classroom: A Practical Guide for Teachers
- Best AI Tools for Teachers in 2026: A Practical Q&A Guide (What Actually Works in the Classroom)
- Best AI Tools for Teachers in 2026: A Practical Q&A Guide (What Actually Works in the Classroom)
- AI Tools for Special Education Teachers: A Practical Guide
- How Teachers Are Using Claude AI in the Classroom
Leave a Reply